


Any project's README.md is its front door. It’s the very first thing a user, a contributor, or a prospective employer sees when they land on a repository. A great README doesn’t just explain what your code does; it acts as a welcoming guide that invites people to use and contribute to your work.
Here are some tips on how to structure a good README, followed by a handy Markdown cheat sheet to help style it.
What Makes a README "Great"?
You don’t need to write a novel, but a professional README should answer four core questions almost immediately:
- What is this project, and why does it exist?
- How do I install and run it?
- How do I use it?
- How can I contribute?
The Anatomy of a Perfect README
To hit those points, try structuring your file with these standard sections:
- Project Title & Description: Start with a clear header and a 2–3 sentence summary of the project's purpose. Bonus points for adding a visual, like a logo or a screenshot of the app running.
- Features: A quick bulleted list of what the project can actually do.
- Installation / Getting Started: Step-by-step instructions on how to clone the repo, install dependencies, and run the project locally. Never assume the reader knows your exact environment setup.
- Usage Examples: Show, don't just tell. Provide short code snippets or terminal commands that demonstrate how to use your tool.
- License & Contributing: Let people know if they are allowed to use your code (e.g., MIT License) and how they can submit bugs or pull requests.
Your Markdown Cheat Sheet
README files are written in Markdown (hence the .md extension), a lightweight language used to format plain text. Here is a quick-reference guide to the essential formatting you'll need.
1. Headings
Use the # symbol followed by a space. The number of # signs dictates the size of the header (from H1 to H6).
As code:
# H1: Project Title
## H2: Major Section (e.g., Installation)
### H3: Sub-section (e.g., Prerequisites)
#### H4: Sub-sub-section
##### H5: Sub-sub-sub-section
###### H6: The lowest level header in standard markdown
As markdown:
H1: Project Title
H2: Major Section (e.g., Installation)
H3: Sub-section (e.g., Prerequisites)
H4: Sub-sub-section
H5: Sub-sub-sub-section
H6: The lowest level header in standard markdown
2. Styling Text
Emphasize your words with bold, italics, or strikethroughs using asterisks and tildes.
As code:
This is *italicized* text.
This is **bold** text.
This is ***bold and italicized*** text.
This is ~~strikethrough~~ text.
As markdown:
This is italicized text.
This is bold text.
This is bold and italicized text.
This is strikethrough text.
3. Lists
For unordered lists, use asterisks, dashes, or plus signs. For ordered lists, just use numbers.
Markdown
As code:
- Item 1
- Item 2
  - Sub-item 2a (Indent with two spaces)

1. First step
2. Second step
As markdown:
- Item 1
- Item 2
- Sub-item 2a (Indent with two spaces)
- First step
- Second step
4. Code Blocks
This is the most crucial feature for technical READMEs. Use single backticks (`) for inline code, such as this echo "Hello World". For full blocks of code, you can use triple backticks (```) as you can see below. You can also specify the language next to the first triple backtick for syntax highlighting (when supported).
import pandas as pd

# Load your data
df = pd.read_csv("data.csv")

# Clean missing values and preview
df_clean = df.dropna()
print(df_clean.head())
5. Links and Images
The syntax for links and images is almost identical, except images start with an exclamation mark (!). You can also make links relative to the file directory you're in using the standard ./file.txt notation.
As code:
<!-- Links: [Text](URL) -->
Check out my [Tableau Public](https://public.tableau.com/app/profile/joss.lazenby/vizzes) for some interesting dashboards!
<!-- Images:  -->
See a preview here:
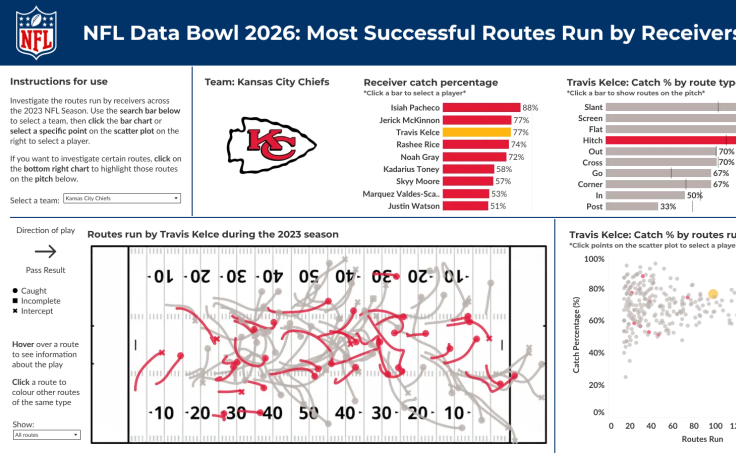
As markdown:
Check out my Tableau Public for some interesting dashboards!
See a preview here:

6. Blockquotes & Horizontal Rules
Great for highlighting notes, warnings, or breaking up long walls of text.
As code:
> **Note:** Make sure you have python version 3.12 or above

---
(Three dashes create a horizontal dividing line)
As markdown:
Note: Make sure you have python version 3.12 or above
(Three dashes create a horizontal dividing line)
7. Tables
These can be useful in code documentation for describing concepts or in combination with links for a table of contents.
As code:
| Platform | Link |
| :--- | :--- |
| Search | [Google][1] |
| Code | [GitHub][2] |

[1]: https://www.google.com
[2]: https://github.com
As markdown:
| Platform | Link |
|---|---|
| Search | |
| Code | GitHub |
Final Tip: Keep It Up to Date
Writing a good README feels great on day one, but code changes fast. Make it a habit to update your documentation whenever you add a major feature, change a setup step, or swap out a dependency.
Thanks for reading! Much of the inspiration for this guide came from The Markdown Guide, an open source project dedicated to markdown. Check it out here!