


After completing the dbt Fundamentals and dbt Certified Developer learning paths, I was eager to take on projects that extended beyond the familiar Jaffle Shop and Stripe datasets. A colleague of mine created a series called Spill the dbt, which presents three hands-on challenges designed to reinforce foundational dbt concepts through practical application.
In this blog, I walk through how I approached each of these challenges, offering additional context and clarification where it may help others following along. I completed the exercises using Python, GitHub Desktop, Visual Studio Code, and the Command Prompt on a Windows machine (apologies in advance to Mac users!).
Of course, this is not the only way to complete the challenges—these are simply the tools I chose for convenience and to get more comfortable working with command-line interfaces.
Please note that this will require a GitHub account.
Downloading the applications:
All of the tools I used for these challenges are free to download and install. You can find them at the following links:
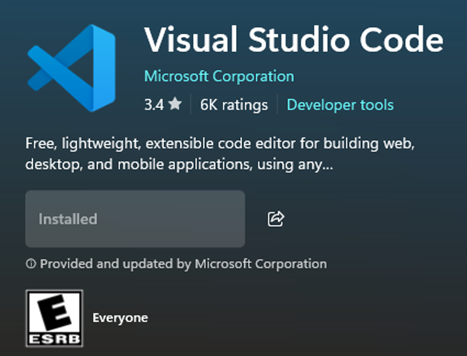
Visual Studio Code is available through the Microsoft Store and may already be installed on your device. To check, open the Microsoft Store app and search for "Visual Studio Code." If it is already installed, you will see “Installed” – similar to the screenshot below; otherwise, you will be prompted with an “Install” button.
Begin by following the instructions on the Spill the dbt GitHub page to fork the repository into your own GitHub profile. Once the repository is forked, open the GitHub Desktop application and navigate to:
File > Clone Repository
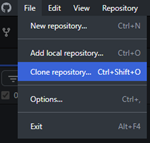
From there, select your forked repository and choose the local directory where you would like to store the project files. Click Clone to complete the process.
Setting up a virtual environment:
The dbt team recommends working within a virtual environment to keep your project dependencies isolated and organised. In the following steps, I will walk you through how to set up and activate a virtual environment. This will allow you to install Python, dbt Core, and any other required packages needed to complete the challenges.
Open the Command Prompt. Upon launching, you will see some basic information about your current Windows version. The first line will indicate your current working directory, which is displayed between angle brackets < >. Anything you type after the > symbol will be interpreted as a command for execution. If your cursor is not next to the > symbol, it means the command is still being executed.
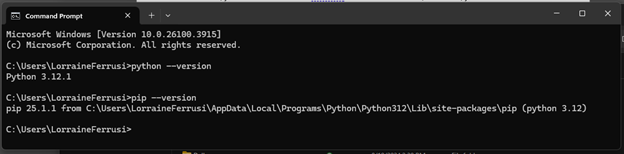
Begin by entering the following command to check if Python is installed:
python --version
Next, verify that pip is installed by running:
pip --version
If pip is not installed, you can install it by executing the following command:
python -m ensurepip --upgrade
Navigate to the folder where you would like to create your virtual environment. I recommend choosing a higher-level directory, such as Documents. Although it is not required to create the virtual environment in the same folder where you will complete the challenges, this approach allows you to access the environment from any subfolder by navigating to it after activation.
To navigate between directories in the Command Prompt, you can use the cd (change directory) command. In the example below, I want to navigate to my documents directory, which is in my OneDrive folder.

To create a virtual environment, use the following command in your desired directory:
python -m venv venv_name
Replace venv_name with a name of your choice for the environment. For example:
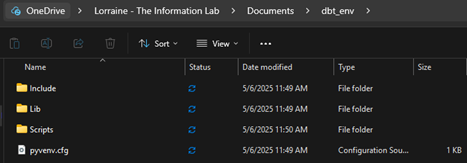
python -m venv dbt_env
Give it a minute to execute the command. This will create a folder named dbt_env that contains the virtual environment.
To activate the virtual environment, run the following command:
dbt_env\Scripts\activate
Once activated, you will see the environment name appear at the beginning of the command prompt line. This indicates that any Python packages you install will be contained within this environment.

Now you can install dbt-core by running the following command:
pip install dbt-core
This process may take a few minutes to complete and will display multiple lines in the Command Prompt window as the necessary packages are downloaded and installed.
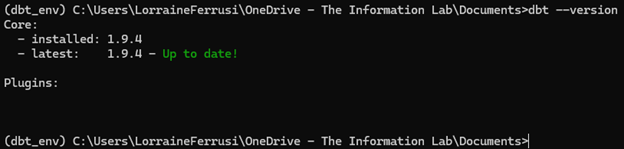
Once the installation is complete, you can verify that dbt has been installed successfully by running:
dbt --version
This should display the version of dbt that has been installed, confirming that everything is set up correctly.
Next, install the following required packages for your project:
pip install duckdb dbt-duckdb pandas
These packages include:
duckdb: an in-process SQL OLAP database management system
dbt-duckdb: the dbt adapter for DuckDB
pandas: a powerful data analysis and manipulation library
To avoid repeating this installation process in the future, you can save your environment's dependencies to a file by running the following command:
pip freeze > requirements.txt
This will generate a requirements.txt file inside the Documents folder, capturing all installed packages and their specific versions.
In the future, to recreate the same environment, activate your virtual environment and run:
pip install -r requirements.txt
This approach ensures a consistent setup for your dbt projects and simplifies onboarding or troubleshooting.
With the applications installed, the virtual environment set up, and the requirements saved, we are now ready to dive into the first challenge. This foundational setup ensures a smooth workflow as we proceed with creating and testing our dbt models. In the next blog post, I will walk you through Challenge 1.