


Keeping your data fresh in Tableau Next is essential for accurate insights and seamless workflows. Whether you're tracking campaign performance or managing lead data, updating your data correctly ensures your models stay relevant—without having to rebuild them from scratch.
What You Need to Know First
Before diving into the steps, here are the key requirements for updating data in Tableau Next:
- ✅ The original file must be a CSV with only one tab
- ✅ The updated file must be identical in structure
(same column names, same order, same format)
Step 1: Upload Your Original CSV File
Start in your workspace where Tableau Next shows “No assets to analyze.”
If you already have data in your workspace, skip ahead to see how to add new data.
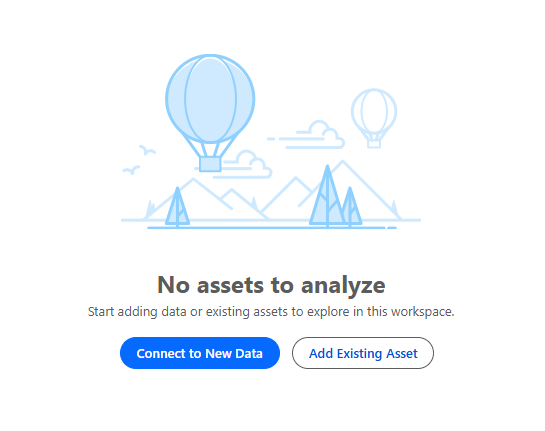
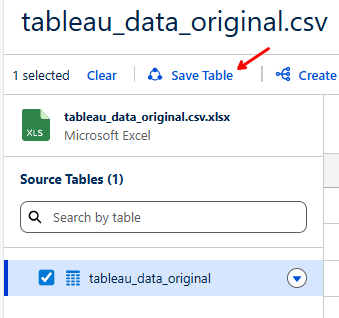
Click “Connect to New Data” and upload your CSV file (tableau_data_original.csv).
Once uploaded, it appears as a Data Stream named something like:
tableau data original.csv
You’ll see a preview of the file and select the source table. Click Save to proceed.
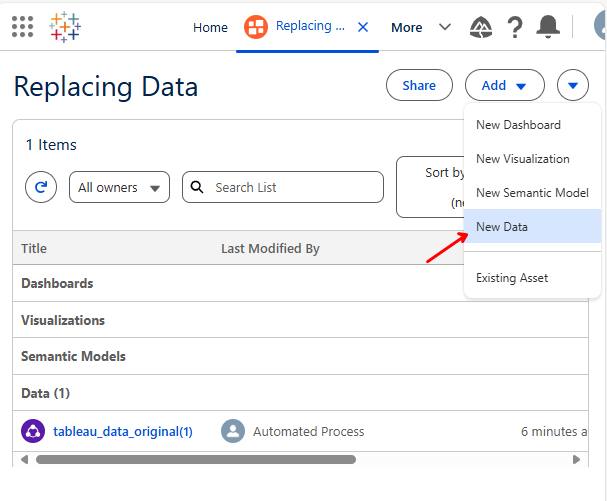
If you want to add new data to your workspace later, you can do so by clicking the same Connect to New Data option.
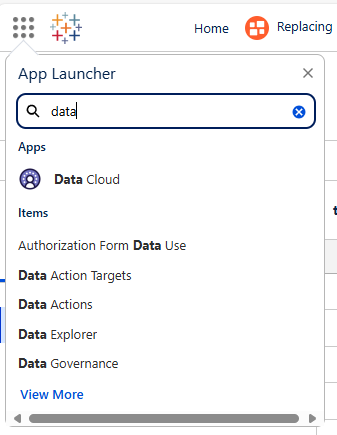
Step 2: Open the Data Cloud App
Use the App Launcher to search for and open the Data Cloud app. This is where you’ll manage your data streams, lake objects, and models.
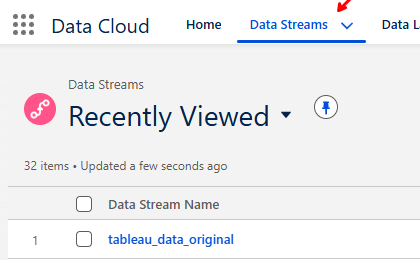
Step 3: Go to Data Streams and Find Your File
Navigate to the Data Streams section. Here, you’ll find your uploaded file listed and ready for mapping or modeling.
Step 4: Update the File
Upload your updated CSV file (tableau_data_updated.csv). You’ll see a confirmation message: “File Upload Complete.”
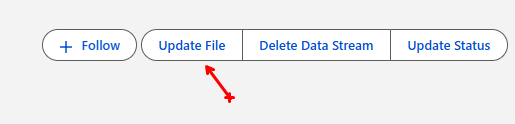
⚠️ Important: You can only replace the original file with an identical CSV file. The fields must match exactly—same names, same order, same format.
Conclusion
Updating data in Tableau Next is straightforward once you understand the structure requirements. By following this workflow, you can:
- Keep your data fresh
- Avoid rebuilding your semantic model
- Automatically update your data model with new values